############################################################
1.Go to VMware <dot> com to
download VMware workstation.
2.Select support and downloads and download
VMware-Workstation-Full-8.x.x.x86_64.bundle format instead rpm
package.
3.Open Terminal and switch to root user
to execute VMware-Workstation-Full-8.x.x.x86_64.bundle file &
Change the file permission to make it executable.
[yogesh@PC ~]$ su -
Password:
[root@PC Downloads]#
./VMware-Workstation-Full-8.0.2-591240.i386.bundle
-bash:
./VMware-Workstation-Full-8.0.2-591240.i386.bundle: Permission
denied
[root@PC Downloads]# chmod 755
VMware-Workstation-Full-8.0.2-591240.i386.bundle
[root@PC Downloads]#
./VMware-Workstation-Full-8.0.2-591240.i386.bundle
Extracting VMware Installer...done.
4.After performing Vmware...... command, this dialog box will shown, Agree this AGREEMENT.
5.click yes to check for product updates on startup.
6.click next.
7.Enter user name for your VMware workstation, which will initially connect to workstation.
8.Now choose a dir for your shared virtual machines.
9.Enter the port to use for https access to workstation server.
10.click next
11.Now product is ready to installed >> click install.
12.At this point sit back....because installation of VMware workstation take several minutes.
13.Installation of VMware is finished > click close.
14.After this go-to Applications > system Tools > VMware workstation.
15.accept this agreement.
16.VMware first time open like this.....
17.Enter License Key. click on Enter the License Key... >> Enter License Key
18.Enter root passwd.
19.Enter key.
20.Now your Vmware gets its reg.... key.
click on Create a New virtual machine.
21.choose Typical > click next.
22.Now U can choose a physical drive or an ISO image for Installation.
23.I choose an iso > browse... your Image.
24.Insert your user information and click next.
25.Insert virtual machine Name & its Location > next
26.Enter disk size > next.
27.Now click on customize hardware.....
28.decrease Ram { This step is not important}
29.click on Network Adapter > Bridged.
30.click on sound card > connect at power on.
31.you can manually set resolution for your monitor >> close.
32.Click to finish.
34.click inside of virtual machine and press enter.
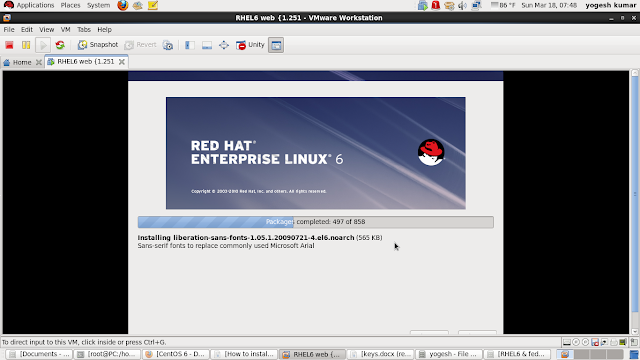
35.anacoda is start.
36.Now Installation of RHEL-6.x is start in VMware workstation 8.

How to open pre-installed, installation files of operating system.
37.click on "open a Virtual machine".
38.Browse your installation files.
39.open pre-installed "RHEL6 yum6 {.245.vmx" os.
40.Now you can see pre-installed os.
41.Now I am back to installation of RHEL-6.x in VMware workstation 8.
############################################################
############################################################
How to add more virtual Network in VMware workstation 8.
43.Enter root passwd.
44.click "Add network".
45.click add.
46.Now you can see vmnets2 is added >> save.
47.I am back to Installation, it is going to finish.
48.Now log-in with your user.
49.This is my physical os ip addr.
50.set ip addr in virtual os.
check it out :- how to change hostname without restart.
52.Now log-out & then log-in again.
53.Now the hostname of the virtual PC is "web".
Now I am going to change virtual machine configuration take a look on this too....
############################################################

############################################################
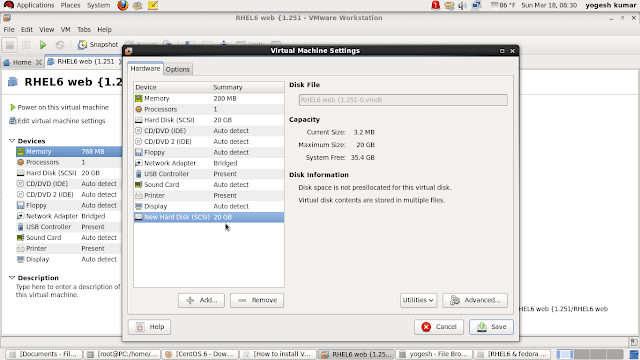
how to add 1 more HDD. click Add...
56.choose HDD > click next.
57.choose create a virtual disk... > next
58.click next.
59.Enter disk size... > next
60.click finish.
61.Now you can see second HDD >> click save.
62.click "Power on this virtual machine".
63.click yes.
64.Now RHEL6 booting will start in your VMware.
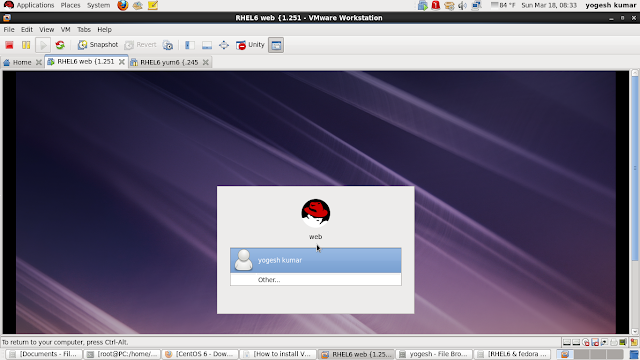
65.Select user and enter passwd.
66.You can see that this RHEL6 have two HDD.
67.First is /dev/sda and second is /dev/sdb HDD.
68.At the end suspend or pause your virtual machine to use it latter.
69.Now to start again suspended virtual machine click "Resume this virtual machine".
############################################################
############################################################
plz share this article


0 comments:
Post a Comment
Note: only a member of this blog may post a comment.